Saturday, March 31, 2012

Cam shaft and timing case gears

This image shows setting the position of the cams on the table of the mill. The shaft is held in the chuck of the dividing head and supported by the centre at the other. The dividing plate has 3300 holes for direct indexing  clock wheels. For this application I choose the outer row which has 288 holes. The plate was first marked in quarters, then marked 92 holes either side of these marks. A "Y" shaped tool which comes out of a battery drill kit for driving cup hooks was used to locate each cam in the correct location by the index plate. Care was needed to not only have the firing order correct (1-2-4-3) but also set the cams for the right sequence as the exhausts are on the outside of the engine on 1 and 4 but in the centre together on 2 and 3. The cams were locked in position by 3mm grub screws and loctite.

Hobbing the crankshaft gear from silver steel. This gear has a keyway for location and will be oil hardend.


This image shows the camshaft gear being hobbed.


Here the gears are mounted in position. The small 13 tooth gear, which is driven from the large cam shaft gear, drives the fan. In the prototype the gear train is 38, 76 ,38 and 16  on the fan. I have selected 30, 60, 30 and 13 which fit the centre distances in the model with availiable hobs. The fan shaft is 6mm in diameter and runs in a 6mm by 13mm ball race next to the gear. The missing gear to the top left drives the water pump and magneto (on the model it will be a distributor).

Saturday, March 24, 2012

Connecting Rods

This is the schematic of the crankshaft and camshaft showing the clearance for the connecting rods. The stroke is 40mm the connecting rod is 91mm between centres.

I plan to cut a trial connecting rod and dummy piston from aluminium to check clearances. The connecting rod big ends actually run between the cam lobes for each cylinder so the mock-up con rod will be used to confirm the clearance.


This was taken as a screen capture from AutoCAD. The horizontal blue dashed lines are the Y limits of the mill and the red dashed lines are the Mill table centres.

Monday, March 19, 2012

Crankshaft

The crank is made from a length of 64mm 4140 steel bar. The bar was set up in the lathe on a fixed  steady so that both ends could be centre drilled. The bar was next clamped in a vice which had been set up accurately so that the bar would be parallel to the axis of the horizontal spindle. A centre drill set up in the collet of the horizontal spindle was used to adjust the knee and the table so that the centre was accurately located. The centre was then drilled slightly deeper to ensure a perfect alignment. Two holes were then drilled 20mm either side of the centre. A flat was machined across the bar for a reference to drill the other end of the bar using a dial indicator.

To cut each crank throw, three pockets 14mm wide by 20mm deep were milled at each cylinder centre line. This left a rectangular block at each throw of the crank 23mm wide by 43mm deep. A long slot drill was used to reduce these blocks to 23mm square ready for the next machine step..


The shaft mounted on its centres in a dividing head. The throws (23mm squares) were made round using a long 8mm, ball nosed carbide slot drill and by hand cranking the dividing head.


The cheeks were faced in the lathe using a boring bar. The lathe was run slowly since the crankshaft is not balanced when machining the big-end journals.The centres will be lost when the ends of the shaft are machined.


The partially finished crankshaft and camshaft. The journals will be ground down to 21.9mm.

Saturday, March 10, 2012

Rockers and cams

Rockers installed on heads.The sleeves have been inserted in the barrels with an o ring at the bottom  and locktite 515 sealant at the top.


Individual cam being machined from silver steel.The cams have  30mm radius flanks and a 10mm bore to fit on a 10mm 4140 steel shaft.Each cam has a 5mm wide flange which is threaded 3mm for a grub scew.


Loose cams after machining and some blanks that have been bored and reamed 10 mm. A slot has been machined to separate the cam from the flange.


This image shows number 4 cylinder with 2.2 mm push rods installed.The tappet adjusters are made from high tensile hex 4mm bolts.  A hemi spherical cavity is machined into the heads and the hex turned off. The push rods have domed ends and are made from music wire .The bottom of the pushrods fit into 6mm deep holes in the cam followers
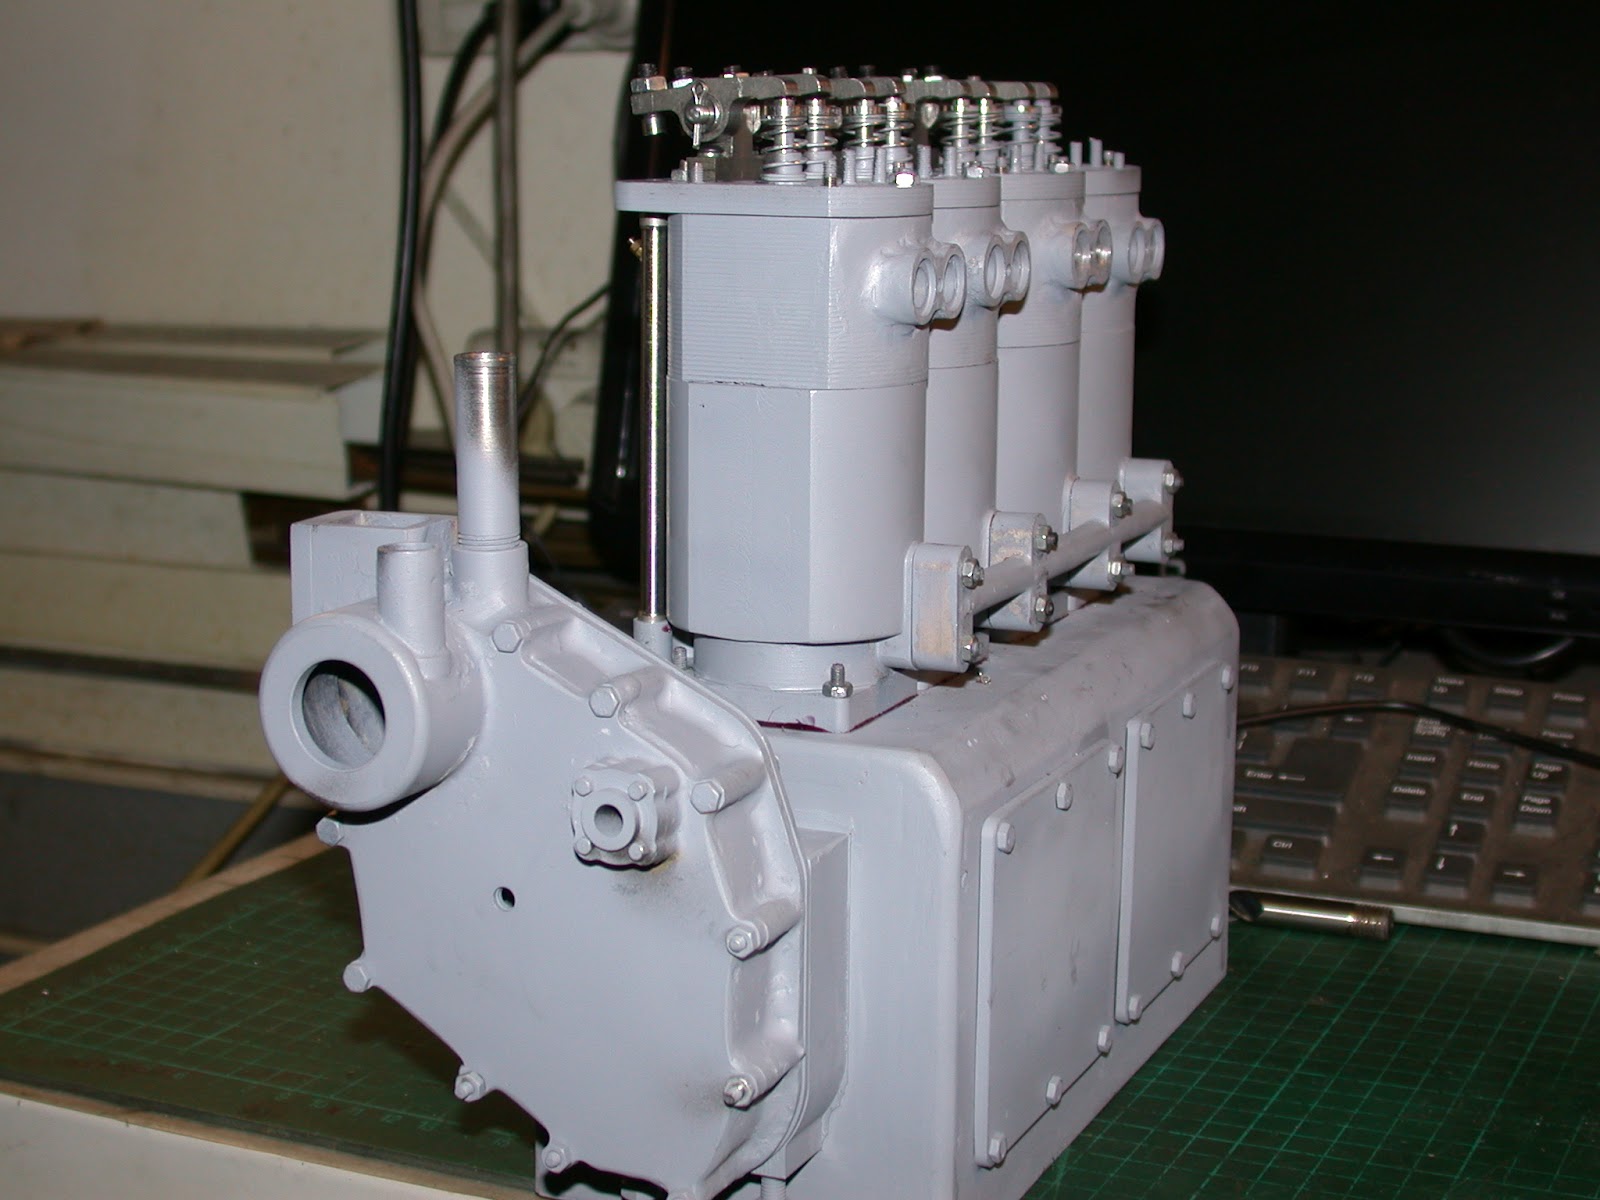


Note the angle on the radiator which is due to the suspension springs not being strong enough to take the weight of the engine. The springs will need to be much stronger to support the additional weight of the flywheel and crankshaft


Thursday, February 23, 2012

Spark plugs

An old full size spark plug. An assembled 1/5 scale spark plug and the individual components below.
The spark plugs were made using 3.12mm OD 1.6 ID ceramic tube. A 14mm sleeve of filled teflon is pressed over this tube, it is drilled 2.8mm.This sleeve is turned on a 3.12 diameter mandrel to 4mm for 9.5mm, the remainder is turned 5mm diameter.
The body of the plug is made from 20mm long hex bar 7mm across the flats. It is bored 4mm for 19mm by drilling and using a 4mm slot drill to achieve a flat bottom. The body is next drilled 4.8mm and threaded 7/32 inches by 40 TPI for 6mm.The outside was threaded 1/4 inch by 28 TPI for 12.5mm. The end of the body was milled 3mm from the end to form the earth for the spark. The hexagon is turned to 7mm diameter leaving 2.5mm.
The center electrode is  low percentage silver solder. It is turned from 1.8mm to 1.5mm to fit the bore of the ceramic tube. This electrode is threaded 10BA and has a 1mm by 1.8mm head. The teflon sleeve  is pressed  onto the tube and the electrode held in place by a 10BA nut, this assembly is then screwed into the body. The 5mm section of the teflon sleeve deforms to match the 40 TPI thread at the same time gripping the ceramic tube.To adjust the spark gap it is necessary to remove the assembly and slide the ceramic in the teflon sleeve. A gland nut made from hexagon bar 5.5mm across the flats threaded 7/32 inches by 40 TPI is screwed into the body  to lock the assembly.

Friday, February 10, 2012

Valves

 Cylinders #1 and #2 with their valves and push-rod tubes in place.


Valves were made from 1/4" 304 stainless steel bolts 2 inches long. They were used in preference to bar as the bolts were work hardened from forging which made them easier to lap to size. Valves for cylinders #3 and #4 are shown below, they still need the retaining clip grooves machined.
The bolts were centred on the thread end first then the head was held in a three-jaw chuck and turned to 4.03mm. 0.03mm allows for lapping to parallel. The lap is shown with their silicon carbide inserts one course, one fine. The lap is held by hand as the valve spins in the lathe. Lapping took about five minutes per valve stem.Once the valves are lapped to size the head of the bolt can be turned into a valve head.

Here is an entire valve assembly from the #1 cylinder head. The valve guides are made from cast iron salvaged from a storm water grate (Trapezoidal in section!) and turned to round. The finished valve has a groove turned in the end to fit the c-clip. The c-clip for the keeper is made from a piece of 1mm silver solder (the long length of wire in the background). The keeper is stainless steel 10mm OD and the spring is commercial. To assemble, the spring and keeper are compressed on the valve stem and the clip pressed in the groove, it is held in place by a recess in the top of the keeper.


The inlet and exhaust ports have been counter-bored to accept the manifolds. The valves and rockers will eventually have a cover, this bolts to the plate shown on the left head.


Push-rod tubes have been installed. Valves in cylinders #1 and #2. The 'castings' at the bottom of the push-rod tubes have been turned from cast iron and serve as the bearings for the cam followers.

The threaded hole for each spark plug can be seen in between each cylinder's push rod tubes.


Wednesday, January 4, 2012

Cylinder heads

Profiling a head from round bar which has 11, 3mm  holes peck drilled by cnc each 30 mm deep.Four of these holes are for transferring coolant from the cylinders water jacket to the head. The other 7 holes are for the head studs.
This shows the reason I have not progressed as I could have. This image is the engine on the table of  a modified Aboga drill which has been a distraction since the 15th November .All the axis are on linear slides giving a working area of approximately 300mm by 400mm.
 The mill has been put aside for now to concentrate on the engine. The heads have the ports machined.
The head studs are made from stainless steel.The inlet  and exhaust ports are separate pieces brazed on .
This shows the water space pocket on top of the head.The raised part with the two holes is where the valve guides will be inserted.Note that the cover plate on the next cylinder is level to the top of the protrusion .